
Stenciled Love


Greetings! I am excited to share my project with you today. The Artists in Residence were challenged to share projects with the theme "Wet." In addition, we had the fantastic opportunity to collaborate with Stencil Girl, which is always so much fun. I decided to combine the collaboration with our theme to create a fun card.


I started off by using the Whimsical Waves stencil.It works with our "Wet" theme (though I've got more "wet" coming up!) I flipped it over to the back and inked it up with Rose Bud, Grape Jelly, and Teal Zeal Memento Ink.

Be sure to cover the entire stencil. Scraps can always be used later!

Next, I spritzed the stencil thoroughly with Sheer Shimmer Frost (see....more wet!). This allows the colors to blend while adding a beautiful shimmer to the ink.

Then I carefully flipped the stencil over on to my Bristol paper. I pressed and smooshed the wet ink around to be sure I had a good image. I let that dry and then trimmed it down to fit on my white card base.

Next, I taped off and inked up the "Love" from the Love Collage stencil. I chose to use Night Sky VersaMagic, because I really wanted some deep contrast from the other colors I used in my background. I then trimmed the word out and used an edge distressor to add some texture.

You can see some of the shine in my background in the photo above. But I needed more "wet," so I spritzed the "Love" with Goosebumps spray. I was careful not to overdo it so that I wouldn't make the color run.
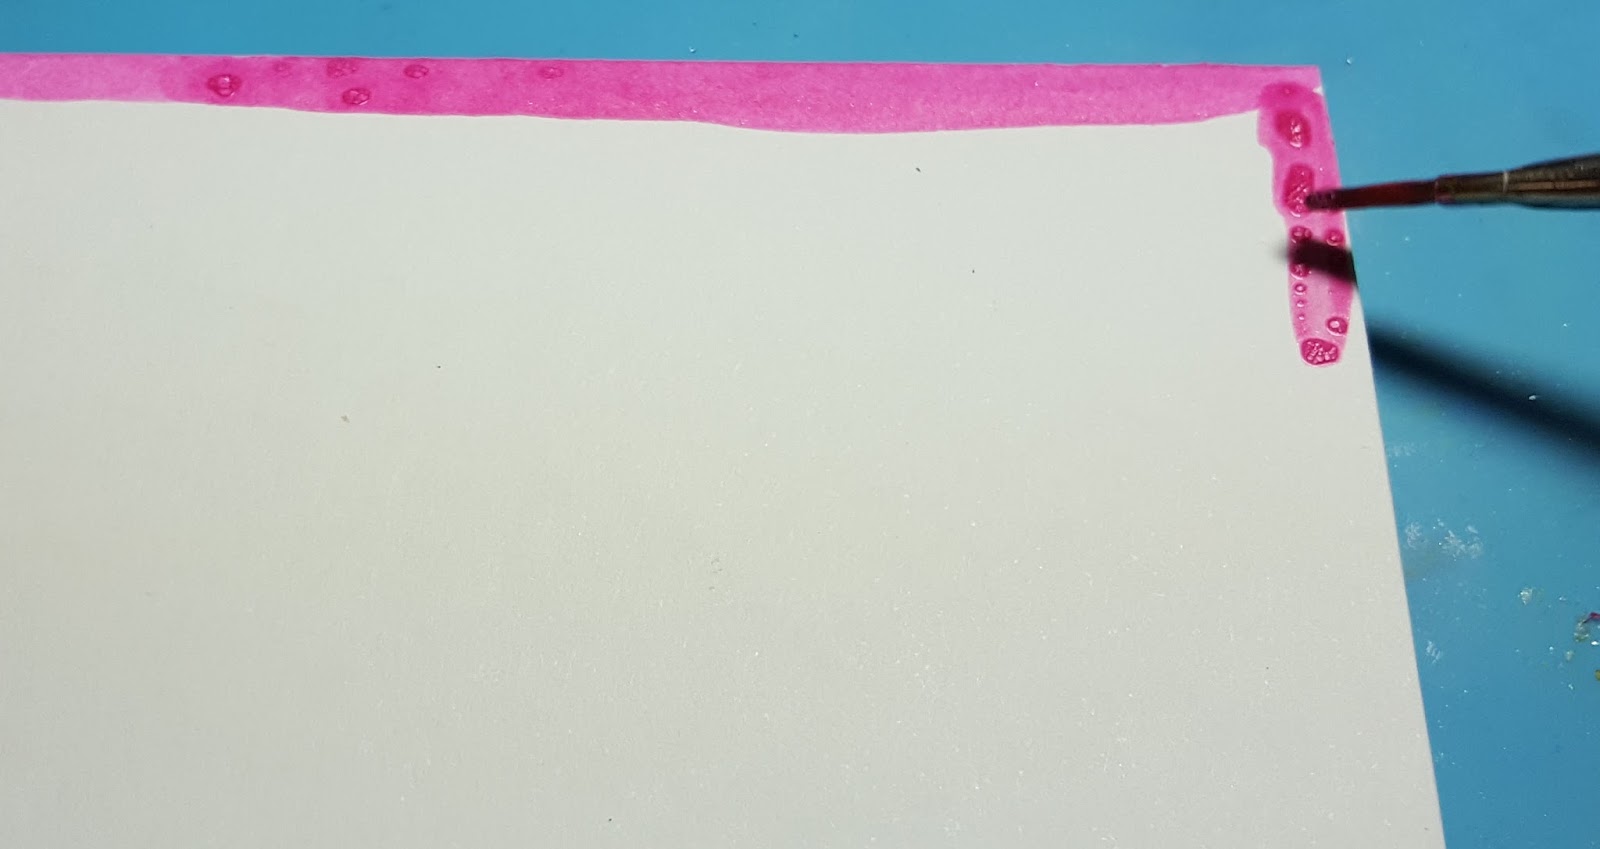
While that dried, I shook up Rose Bud Fireworks! Spray and applied it on the perimeter of my card base with a brush.

My background needed a little something, so I went back to the Love Collage stencil and added some of the circles I applied some Teal Zeal ink to an acrylic block and sprayed it with Sheer Shimmer Spritz in Sparkle. I applied the wet ink with a fan brush.I also decided to distress the edges of the stenciled layer.

I shook and unscrewed the spritzer of my Tuxedo Black irRESISTables Spray and tapped the straw above my stenciled layer. This gives you a bit more control over where the drops land, as opposed to just spraying the color.
After everything was dry, I attached the stenciled layer to the card base, and used some foam squares to the back of the Love, and then to the card. Now I've got a shimmery, shiny, wet looking card!

I hope I've given you some ideas on different ways to use your inks, sprays and stencils. I'd like to thank Stencil Girl for giving the AIRs such fantastic stencils to play with. Below is the full link list for the folks hopping today, as well as my supplies list. Thanks so much for stopping by. Have an inspiring day!
Alison Heikkila (that's me!)

Supplies:
Imagine:
Memento Ink: Rose Bud, Grape Jelly, Teal Zeal
Sheer Shimmer Spritz: Frosted, Sparkle
Fireworks! Spray: Rose Bud
irRESISTables Spray: Tuxedo Black
VersaMagic: Night Sky
Goosebumps Spray
Sponge Dauber

Other:
Stencil Girl: Love Collage, Whimsical Waves
Canson: Bristol Smooth 100lb. Cardstock, Mixed Media Paper
Recollections Card Base
Scrapbook Adhesives: Foam Squares
Brush

Skill Level: Intermediate
Time to Complete: Approx 30 minutes, plus drying time

Comments

Cathy F said…
'Love' that - great layers & colors! Cfrailey64 (at) gmail (dot com)
Anita Tillman said…
That wave stencil is gorgeous! love all the layers!
Unknown said…
So interesting and informative.
Unknown said…
Good job! Pretty!
Lisa Derby Oden said…
Love your color choices, and the background stencil is a favorite of mine :)
Unknown said…
I have so much of these supplies and I never use them, you have motivated to pull this stuff out and get busy.
Debbie Anderson said…
Love that wave stencil!
Fun card. Love the colors. TFS
PiHi said…
Lovely layers in your card!
Carol w said…
Love your vibrant waves of color. Beautiful card!
Rita Montgomery said…
Your card is beautiful. I love that wave stencil and the Fireworks spray is perfect. Thank you.
leighcard said…
I love the depth of this card and those colors are so wonderful together!
suzieq23 said…
Love all your colors. So creative using Stencil Girl stencils and Imagine products. suzschultz23(at)aol(dot)com
Alecia said…
Love all your choices for the card - wonderful!
Mary Holshouser said…
A colorful, shiny card.
You were able to get several
cards from your one pass of
the stencil. Sounds like
a fun technique that I have
to try.
thanks for sharing.
txmlhl(at)yahoo(dot)com
Unknown said…
Really beautiful-will definitely give it a try. Thanks
Denise Bryant said…
Fun card! Love the Memento Dew Drops you used and the pretty stencil! Great color combo!
Unknown said…
Really creative project! Love seeing this interpretation, too! I don't think I've seen the whimsical waves stencil before - will have to add it to my growing list.
Immi said…
This is so full of color and movement!
donna joy said…
such a fun and colorful background!
LuLu Badgley said…
intresting way to use the stencil
Mitchypoo said…
Really cute greeting card. I love how you did that.
Miss Marie said…
Wonderful card! I like the ocean waves in particular.
Pat Healey said…
Love your luscious layers and colors. Your imaginative art piece is filled with techniques and products I want to try.
Jean said…
Such a cool design and color!

Popular posts from this blog

Holiday Hop and Collaboration: Day 5

Hello!  All of this week, the  Stampendous  and  Dreamweaver  teams have been playing with a mix of their products, along with some wonderful, SAND-ABLE papers from  Core'dinations . We've sanded our way to the "core" of all things Christmas and the Holiday season. ***If you are looking for my Day 17 post for the 31 Days of Halloween, please scroll down to my next post.*** Of course, there are prizes, and we are giving away the best...this time with a mix of fun  Core'dinations products as well. To be one of three prize package winners, follow the posted link lists from each day, leave comments, and winners will be selected from these comments at the beginning of next week.  I've been sharing a few car featuring the Stampendous set, Forest Friends . It's such a sweet set. I was going through my Dreamweaver Stencils, and I came across the Open X-Mas Tree . Then it came to me. Remember the part in Rudolph the Red-Nosed Reindeer, when the song Silv...

SBS and MIC Collaboration: Day 2!

It's Day 2 of the totally rad Simply B Stamps and Make it Crafty collaboration! If you missed anything yesterday (though I don't know how ya could have missed this!), below is all the info you need to know.  Make it Crafty and Simply Betty Stamps are really excited to be bringing you the combined Hollywood Release! Simply Betty Stamps has a range of characters from Betty Monroe, through to Action Chris the movie director!! Make it Crafty has a range of background scenes perfect to switch and match with your famous characters!! Of course we are going to have heaps of fun with this theme and June 1st & June 2nd we will be showcasing our stuff and then June 3rd we're bringing you a fun guessing game... Will you be able to guess the movie??  We'll be giving you some clues to help!! Join us for the two inspiration days and leave a comment along the way for your chance to win a selection of new images. There will be FOUR winners each day recei...

Echo Park Blog Hop with Imagine

Greetings! This is my second post for the day. This one is not part of the 31 Days of Halloween, but rather a super-duper blog hop that the Artists in Residence for Imagine are doing with Echo Park . So if you're here for my Day 7 project, please check out the post HERE . But before you do that, scroll on to check out this one. There are prizes up for grabs, so be sure to check out the Imagine Blog as well as the Echo Park Blogs for details. I created my background by applying Dandelion and Tangelo Memento Ink to my brayer. Then I sprayed it with Ink Potion No. 9 to help the colors blend and to act as an extender to keep the inks wet longer. After I rolled the colors out on to watercolor paper and let it dry, I stamped the lovely doily-like image from Echo Park's Simply Sweet Stamp Set with Grape Jelly Memento. I also received the super pretty Heart Doily Designer Die  which I used with a true purple cardstock. But it needed something....and in rolls the super fabul...