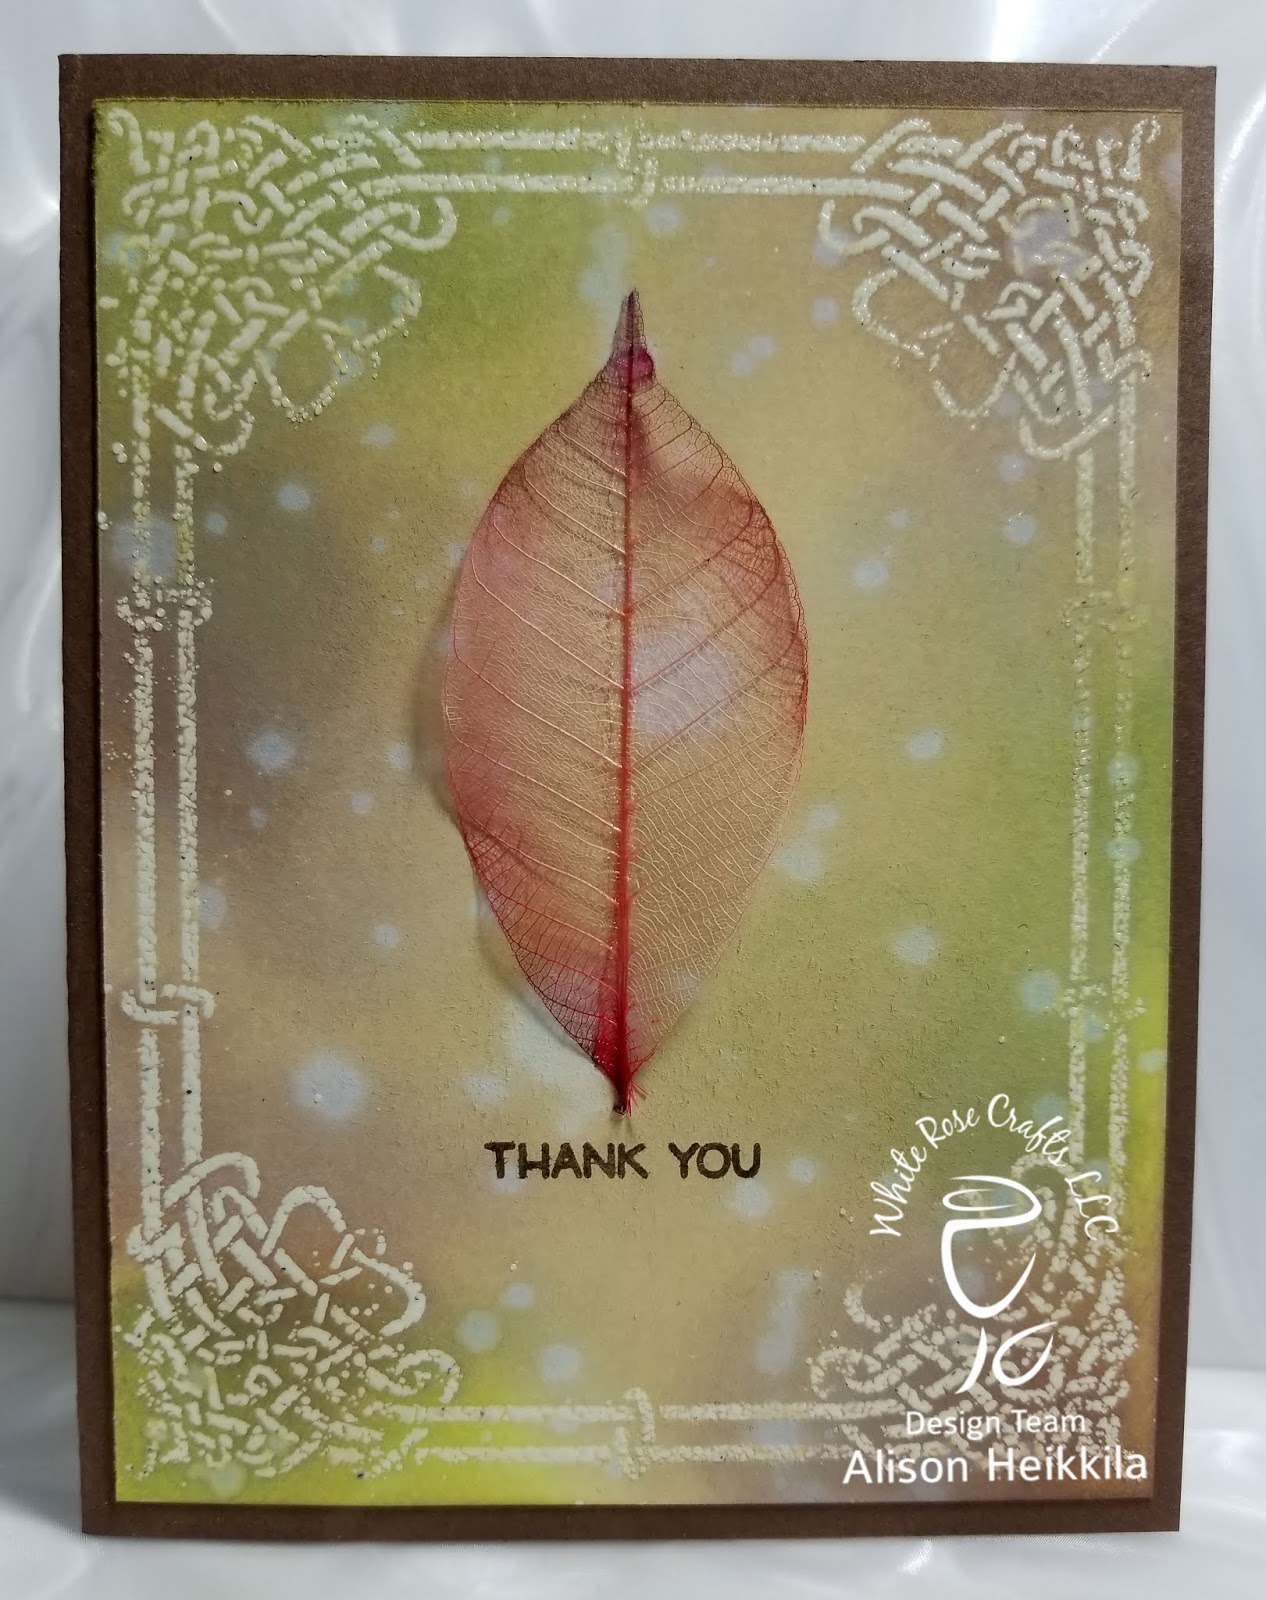
Hello! Today is my first official post for the White Rose Crafts LLC Design Team! I am so thrilled to be a part of this wonderful group of ladies, representing a fantastic online shop. This is Release Week over at WRC, and the newest subscription box, called "The Glory of Autumn" will be shipping shortly. In celebration of this new kit, the we are having a blog hop. I do not have the new subscription box, but I do have a lot of the "add-ons" that are available for purchase. To check all of these awesome items out, you can head over to the "October Subscription Kit Add Ons" section. You can get a 10% discount on these items when you use the code HAPPY FALL. Here's my card.

I started off knowing that I wanted to use one of the beautiful Small Red Mulberry Skeleton Leaves from the add-ons section. From there, I decided that the leaf should be framed in some way, so I applied VersaMark ink with a stencil brush to the border of the Thinking of You Dreamweaver Stencil. I taped off the sentiment in the middle, since that's where I wanted my leaf to be. Once I inked up the border, I heat embossed it with Clear Embossing Powder from Ranger.

Next, I applied Distress Oxide Inks to the background using an Ink Blending Tool. I used Peeled Paint, Antique Linen, and Frayed Burlap. There are many Distress Inks in the add-on section, but I only had these colors in the Oxide version, so I went with those. My embossed frame resists the ink, so you are able to see my cream cardstock underneath. I hit the cardstock with some drops of water, to get the ink to react, and then I heated it with my heat tool to speed up the drying process. Next, I added a simple "thank you" with Vintage Photo Distress Ink from the Lawn Fawn Reveal Wheel Sentiments stamps. I attached my leaf with some liquid adhesive, and then I was done. I think this card has a simplistic elegance to it and I am so happy with the end result.

In celebration of the 4th subscription box, White Rose Crafts is giving away a $15 gift certificate! Just hop along through the Design Team posts and let them know what your favorite add-on in each project is.
**Comments must be made by Friday October 5th at 11:59 EST.**
Here is the full hop list:
I started off knowing that I wanted to use one of the beautiful Small Red Mulberry Skeleton Leaves from the add-ons section. From there, I decided that the leaf should be framed in some way, so I applied VersaMark ink with a stencil brush to the border of the Thinking of You Dreamweaver Stencil. I taped off the sentiment in the middle, since that's where I wanted my leaf to be. Once I inked up the border, I heat embossed it with Clear Embossing Powder from Ranger.

Next, I applied Distress Oxide Inks to the background using an Ink Blending Tool. I used Peeled Paint, Antique Linen, and Frayed Burlap. There are many Distress Inks in the add-on section, but I only had these colors in the Oxide version, so I went with those. My embossed frame resists the ink, so you are able to see my cream cardstock underneath. I hit the cardstock with some drops of water, to get the ink to react, and then I heated it with my heat tool to speed up the drying process. Next, I added a simple "thank you" with Vintage Photo Distress Ink from the Lawn Fawn Reveal Wheel Sentiments stamps. I attached my leaf with some liquid adhesive, and then I was done. I think this card has a simplistic elegance to it and I am so happy with the end result.

**Comments must be made by Friday October 5th at 11:59 EST.**
Here is the full hop list:
Alison (that's me!)
Below is a video of me unboxing the products I just received from White Rose Crafts. Please check it out to see a small portion of the wonderful products that they carry.
Thanks so much for stopping by. Have an inspiring day!
Comments
Lovely colors.
Carla from Utah
I like the Mulberry
Skelton leaf.
Carla from Utah