Hello everyone! Welcome to the Beth Duff Designs Summer Release Hop! If you've been on my blog this week, you've seen that I had 2 cards that featured the Better Together stamp set. I am so loving this set. The food is so cute, and I really like the sentiments. Well today, I have a third card using that set.

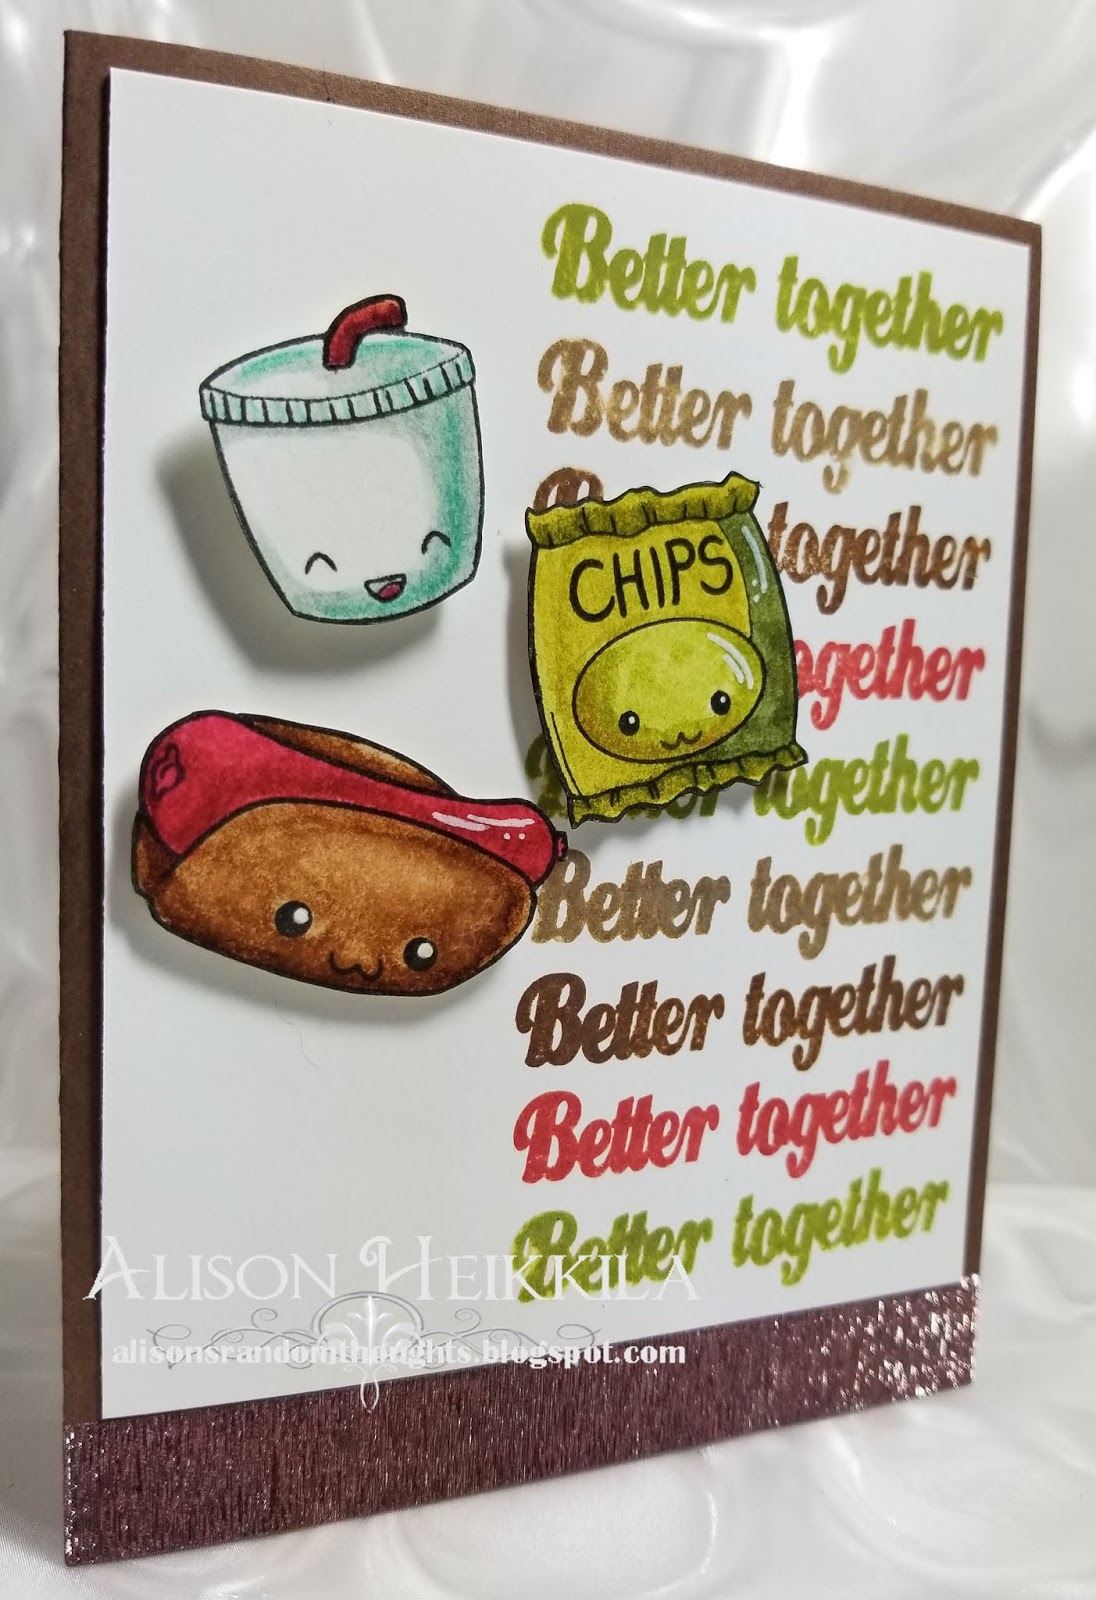
This card makes me think of summer on the boardwalk. Coney Island definitely comes to mind. Pretty sure I've had this as a meal there before.


I mounted my background on to a brown card base, but I felt that the card needed a little bit of shine. So I added a stripe of Queen & Co. washi tape. This particular tape is super glitzy and was just what the card needed.

We are so happy you joined us for the Beth Duff Designs Summer Release Blog Hop! These sets are a lot of fun and we are excited to see what you make with them. Please be sure to visit every stop in the hop. By leaving a comment on each of the posts, you will be entered to win a 15% off coupon to the Beth Duff Designs store! This contest is open to US and International fans. The full link list is below. Thanks for hopping along, and don't forget to join the BDD Facebook group to share your creations! Thanks for stopping by. Have an inspiring day!

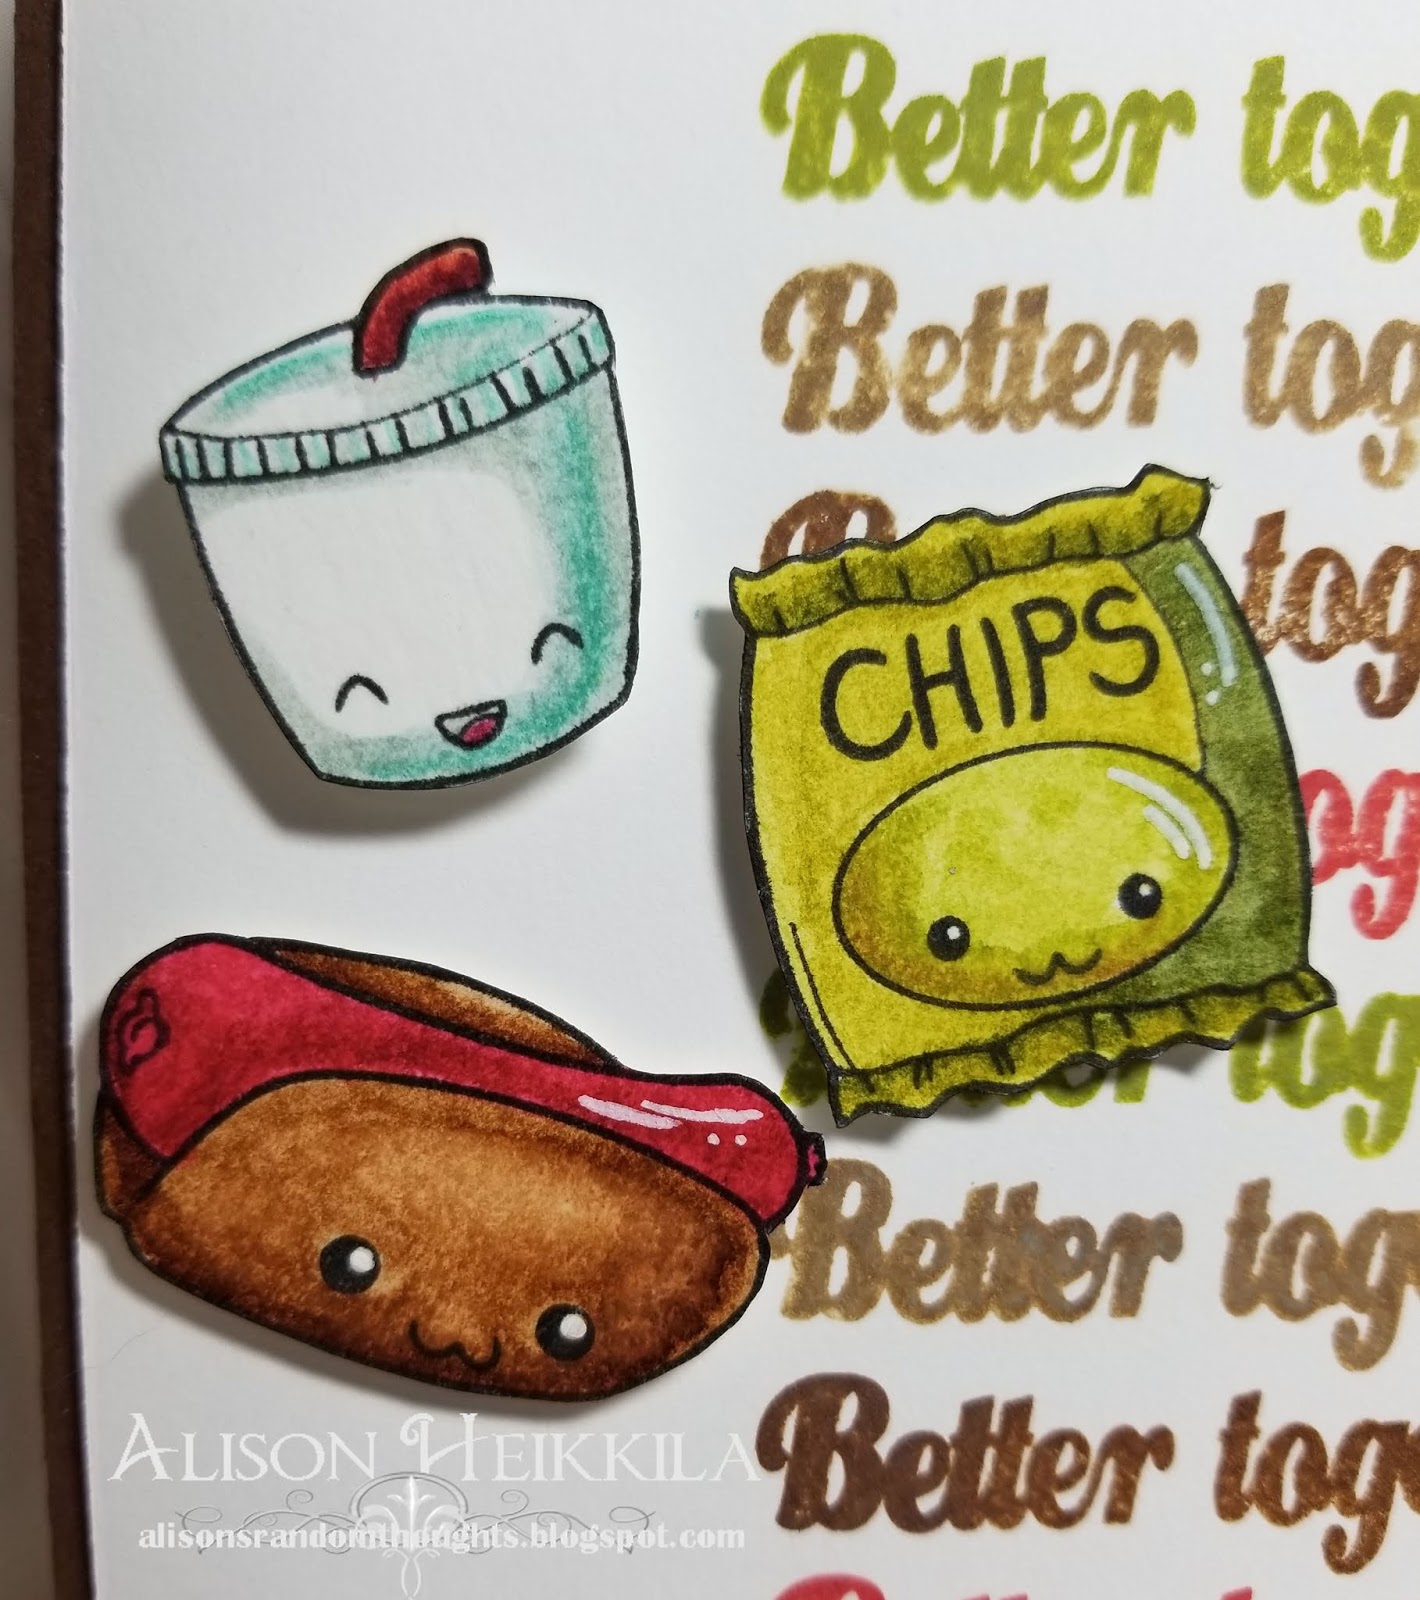
I colored the food and drink using my Zig Clean Color Markers. I fussy cut them out, and then used foam adhesive on the back. I gave the drink two layers of foam to pop him up even higher. My background was done pretty easily, thanks to my Tim Holtz stamp platform. You can of course use another type of platform, or even just an acrylic block to do the repeated sentiment, but it is much easier in a stamping tool. I used various colors of Color Box chalk ink. I chose colors that coordinated with the marker colors I used on the food.

I mounted my background on to a brown card base, but I felt that the card needed a little bit of shine. So I added a stripe of Queen & Co. washi tape. This particular tape is super glitzy and was just what the card needed.
We are so happy you joined us for the Beth Duff Designs Summer Release Blog Hop! These sets are a lot of fun and we are excited to see what you make with them. Please be sure to visit every stop in the hop. By leaving a comment on each of the posts, you will be entered to win a 15% off coupon to the Beth Duff Designs store! This contest is open to US and International fans. The full link list is below. Thanks for hopping along, and don't forget to join the BDD Facebook group to share your creations! Thanks for stopping by. Have an inspiring day!
Alison's Random Thoughts - Alison (that's me!)
Comments